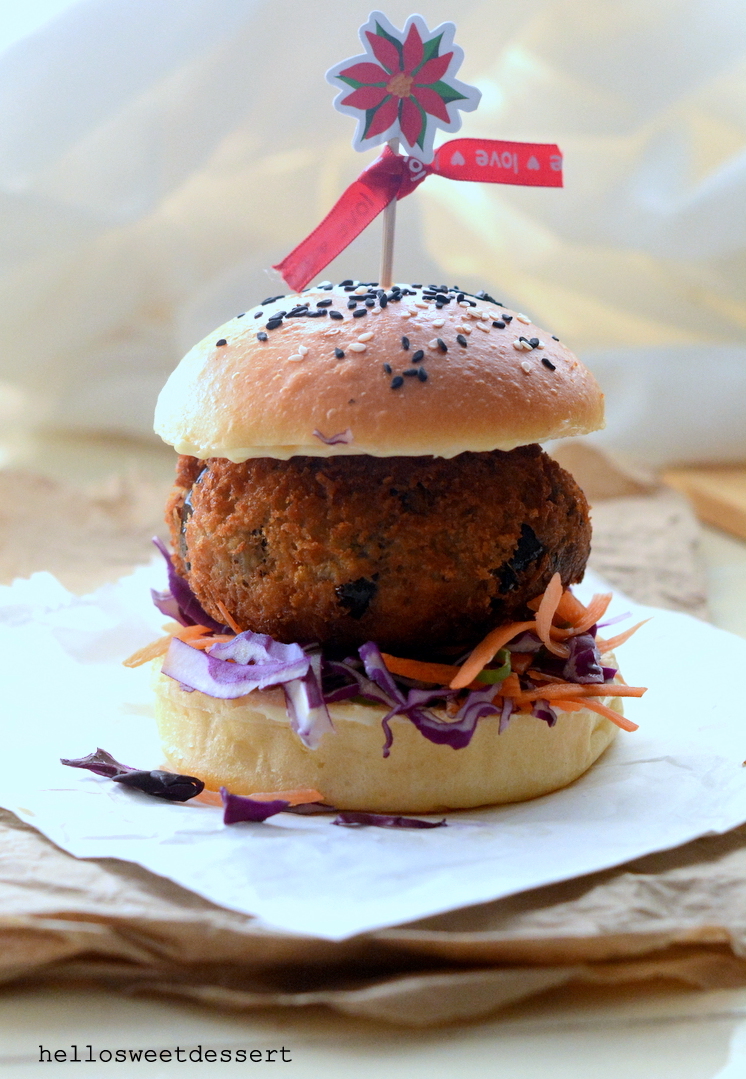
I tasted these amazing eggplant mushroom vegetarian burger with brioche bun in one of the local bakery for breakfast. It is located in the city , and we had to travel to city to dine in.I forgot the cafe’s name but the burger is amazing even eating cold. I believed it is a pop up store. Both husband and I tasted it and wondered how to replicate it. I hope you can also try vegetarian burger with different flavour.
Hope you enjoy.

Components we need:
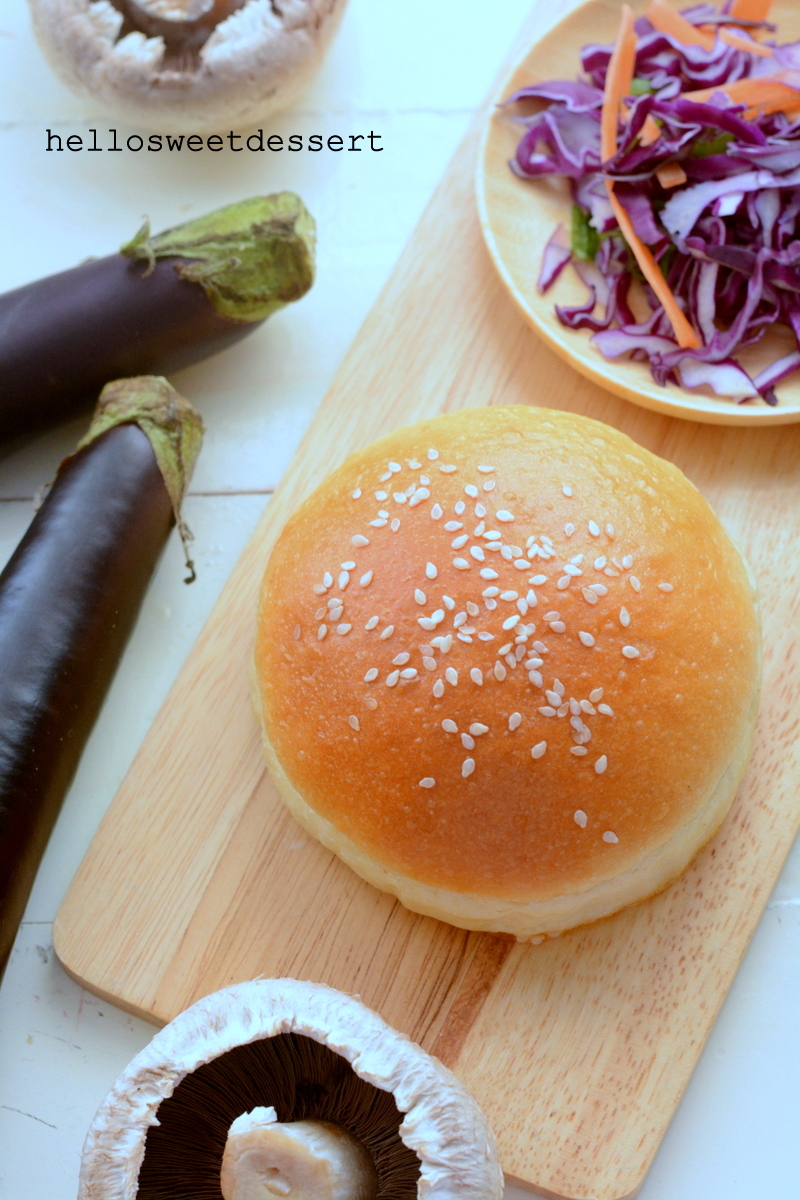
- 4 Brioche Burger, recipe at : https://wp.me/p3PiK3-CR
- 4 Eggplant mushroom patties
- Coleslaw


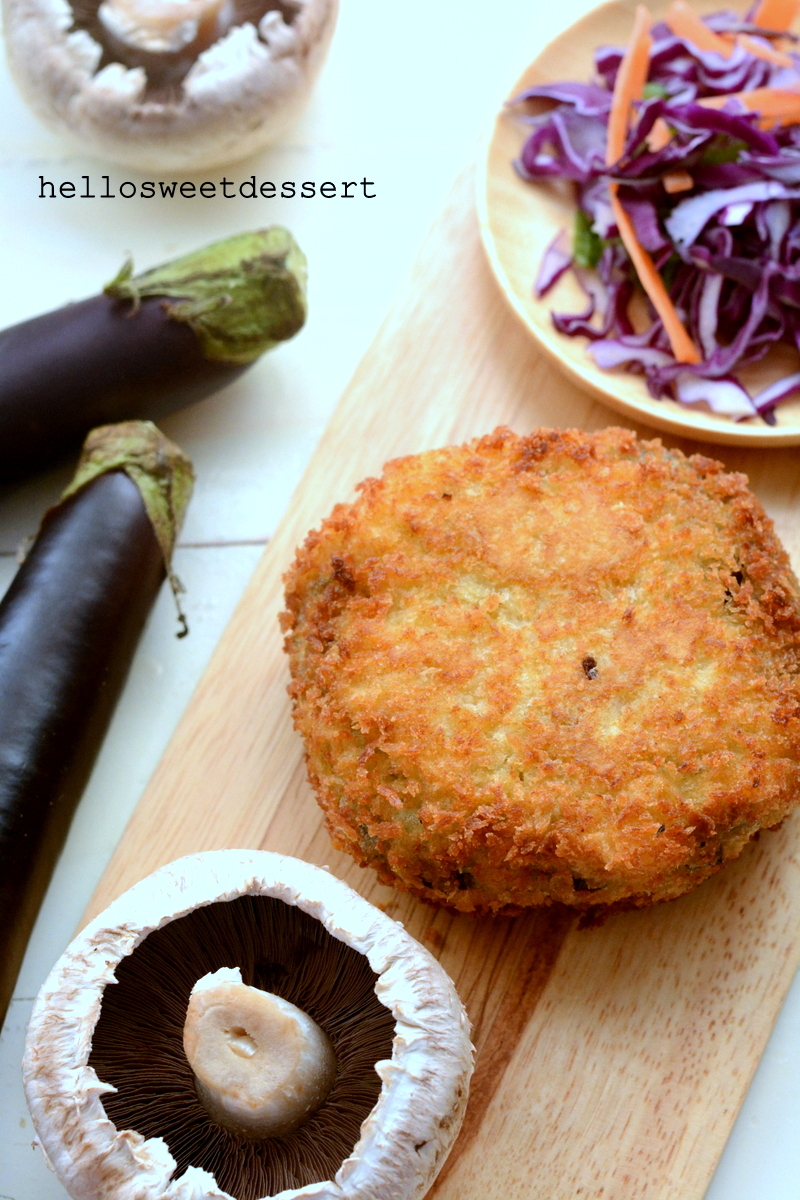
Eggplant Mushroom Patties:
- 3 long eggplant/brinjal ( medium size),slice thinly to about 4-5mm in thickness
- 8-10 flat mushroom,sliced (Or you can use portabella mushroom)
- 1 red onion, chopped
- 1 tbsp chinese soy bean paste,and mix with 1/2 tsp raw sugar ( or 1/2 tbsp miso paste)
- 1 tbsp cooking oil
- salt and pepper to taste
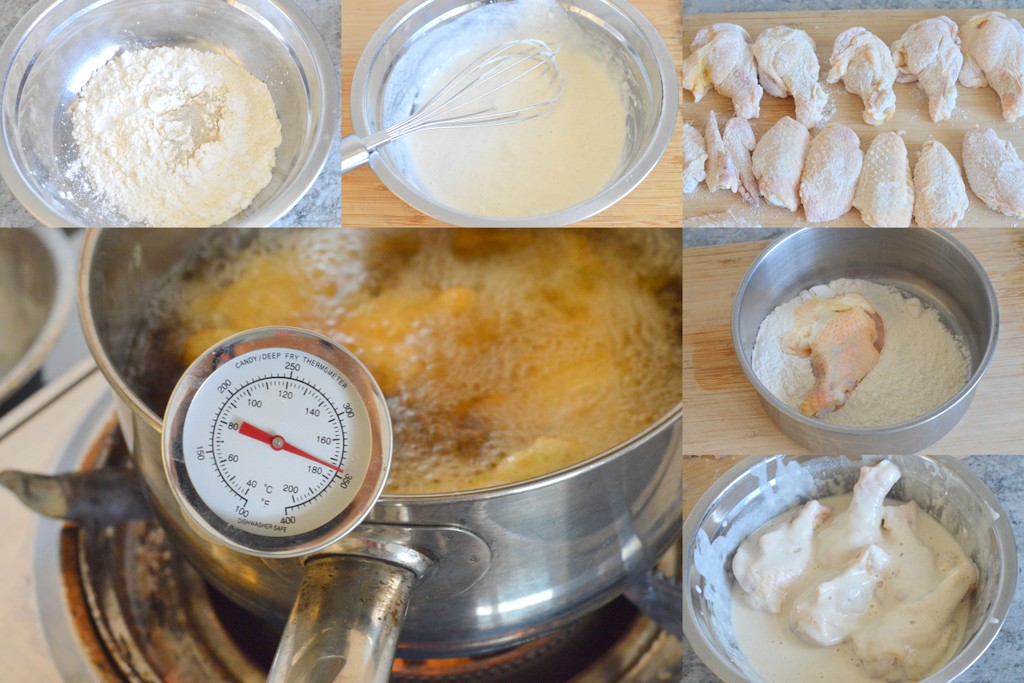
- plain flour,for coating
- 1 beaten egg, for coating
- japanese breadcrumb (or normal breadcrumb), for coating
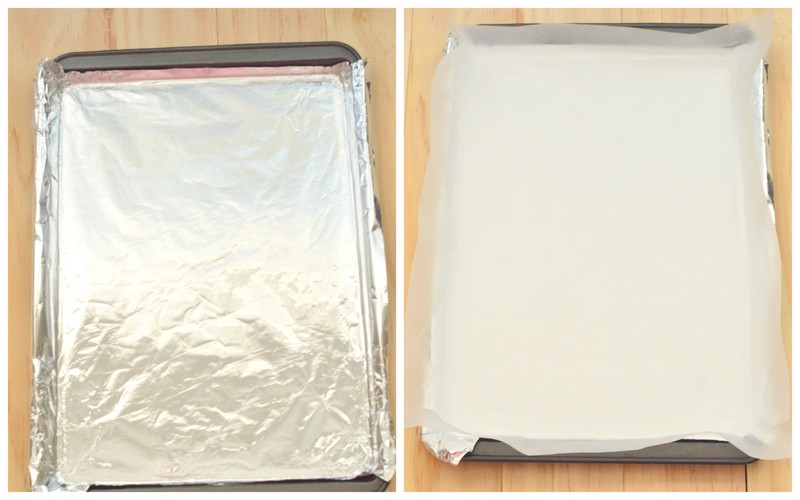
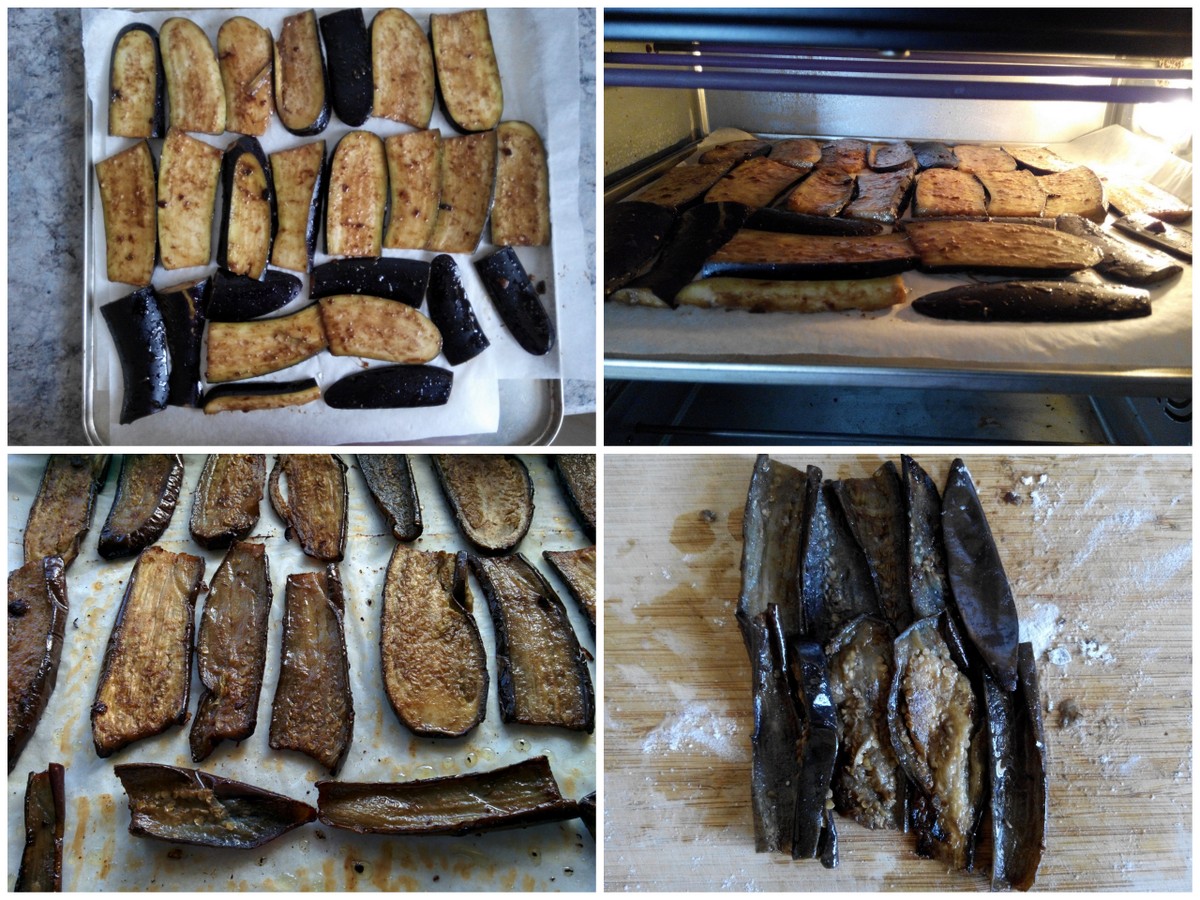
- Lined a baking tray with parchment paper, preheat oven to 200-230C(depending on individual oven).
- Marinade egg plant slice with soybean paste, sugar and 1 tbsp cooking oil to well coated. Arrange every slice eggplant onto prepared baking tray, and bake at top oven rack for 30 minutes until slightly charred and cooked through. Remember to flip all eggplant slice half way cooking for achieving both side charred. Remove the grilled eggplant from oven to allow to cool down, then store in refrigerator for an hour.
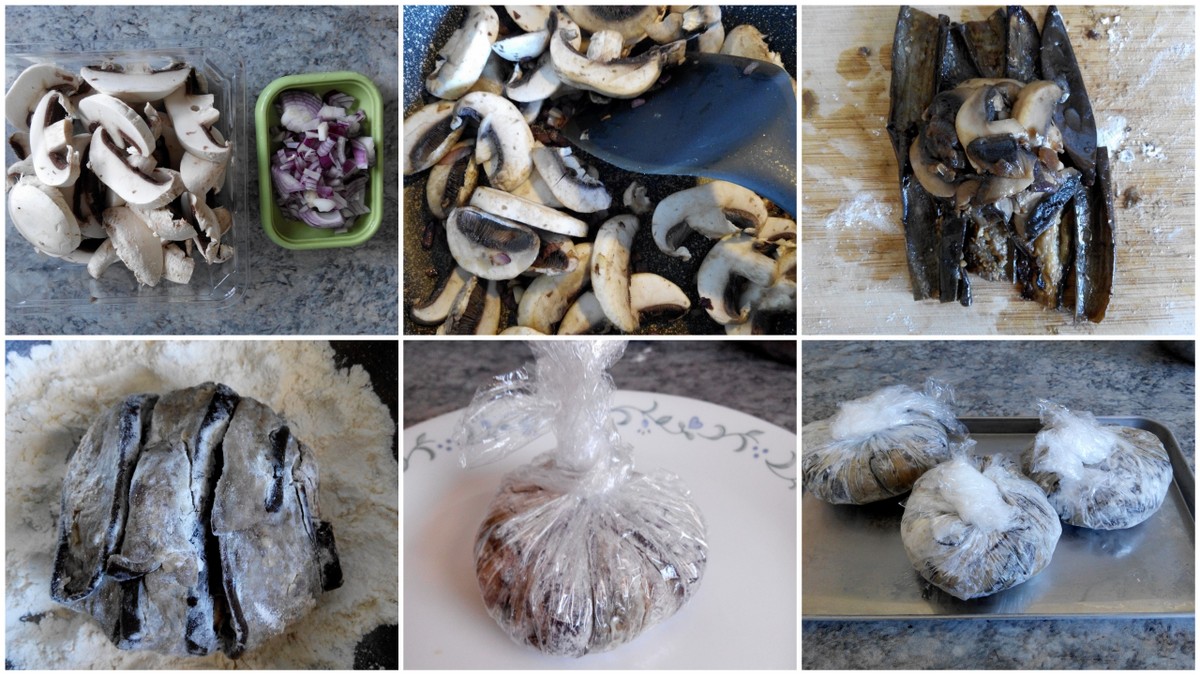
- In a non-stick saucepan:Heat 1 tbsp cooking oil, saute the chopped onion until soften, then add in the mushroom. Saute until cooked, season with salt and pepper to your taste. Transfer to a clean plate, allow to cool down fully.Then store in refrigerator for an hour .
- Take out the cooled mushroom, take a small handful of mushroom, hold tight in our palm to squeeze out extra juices to form a patty shape.
- On other side, on your chopping board, arrange cooked eggplant in a particular order like shown in the picture. Place the mushroom patty onto the eggplant, and fold the eggplant to cover all the mushroom. Gently hold the egg plant patty on your both palms and shape into a nice patty shape, and coat entire patty with enough plain flour. Wrap with cling film and secure it tightly.
- Repeat step 4 and 5 for the rest of the patties. You will get 4 patties altogether. Allow to chill in freezer for 1-2 hours until hardened.
- Remove the hardened patties from freezer and unwrap altogether. Coat each patties with beaten egg, then with the japanese breadcrumb. You can repeat this coating process once again,(it is called double coatings).
- Heat enough oil in a saucepan: deep fry all the patties to golden brown.

Prepare your coleslaw:

- some purple cabbage, finely sliced
- 1 small carrot, finely slice
- 2 spring onion,green part (chopped)
- some japanese mayonnaise
- Wash all vegetables, pat dry and finely slice. Mix with japanese mayonnaise into mix vegetables. Set into refrigerator for later use.

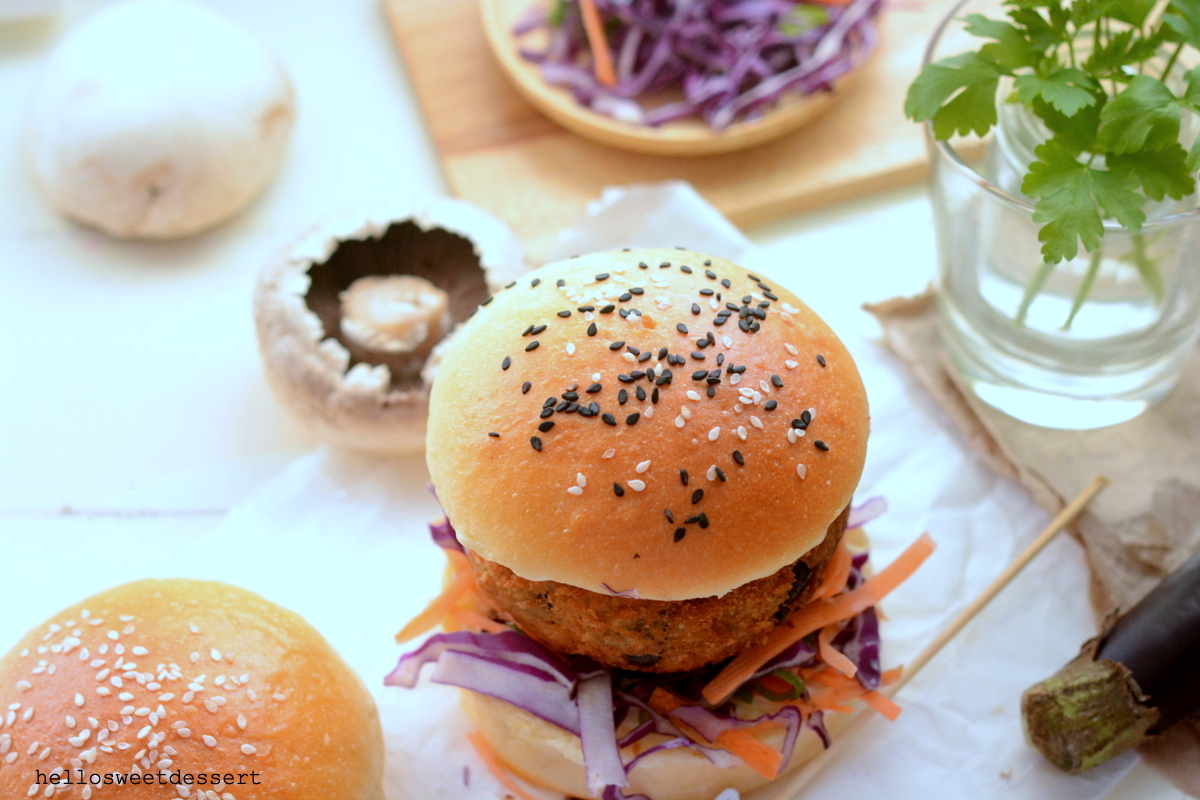
How to set up your burger:
- Half your brioche burger, spread with more mayonnaise on both sides.
- Layer with coleslaw, then top up with your homemade eggplant mushroom patty.
- You can add your favourite sweet chillies sauce if you want.
- You can serve it freshly prepare or chill in refrigerator to serve cold.
Note:
- You can use other types of eggplant such as the classic and regular eggplant also named as Black Beauty or black bell pepper. I am using chinese eggplant that is longer and cylindrical in shape.
For more information on varieties of eggplant: http://goo.gl/pu3gxa
- The reason to freeze your eggplant patties before final coating because the patties are so soft with the mushroom and eggplant, secondly there is no other ingredients act as adhesive agent such as potato mash. So we need to make sure it is hardened in freezer for easier coating and deep frying.
- This meat-free vegetarian burger supposed to serve as cold sandwich, but if you preferred crunchy patties and super soft brioche, slightly toast your brioche burger on hot pan for just less than 30 seconds on medium-high heat,otherwise might burn your brioche due to the high content of milk and butter used in this recipe. The bread is super soft after toast, so be gentle when handling brioche burger in hot pan.
- you can use any favourite vegetables such as lettuce, tomato, cucumber or even beetroot slice for the burger.
Thanks for visiting and your comments are greatly appreciated.
Hope you like this vegetables burger.